Yesterday, I went to the studio to print a second edition of my very popular "Tiny Towers" print and decided to play around with the camera and also show you guys more of my work process. My studio is a shared space in Kew Gardens, West London. It is a really lovely spot and I drive through Richmond Park to get there from my home near Wimbledon. What I love most about screen printing is the quality and intensity of the colour on the paper and that each print is truly unique. Hope you enjoy this blog post and that it will give you a better idea of what I do!
I printed the first orange layer of the Tiny Towers design the day before.
I always mix my own acrylic ink with screen printing medium and it takes a while to get the perfect balance. I love playing with colour!
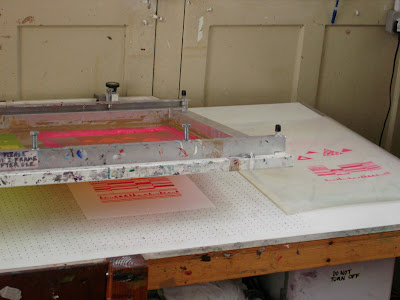
The pink ink of the second layer is spread over the exposed photo stencil on the mesh screen. With a second firm pull, the ink is forced through the fine mesh and onto the paper.
A clear Mylar sheet is taped to the printing table. The first pull of ink with the rubber squeegee goes directly onto the clear sheet and this will act as an indicator where to place the paper underneath the screen.
After the ink has gone through onto the paper, the hinged mesh frame is lifted.
Peekaboo!
Hello freshly printed second layer of "Tiny Towers".
Carefully hang them up to dry. No smudges and inky fingers!
Wash out all of the ink in the mesh screen with a power hose and leave to dry.
Messy shoes. Messy floor.
This is me in my happy place.
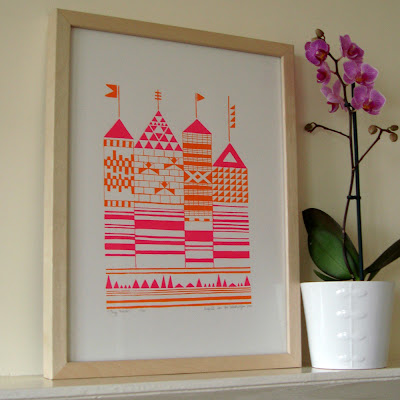
"Tiny Towers" framed and ready to be displayed in your pretty home.

